Bring the Innovation of Diaton Tonometer to Your Practice GET A QUOTE
Dial Team Diaton at: 1-877-DIATONS
We’re Open and here to assist You
Stay SAFE and Keep others SAFE!
Bring the Innovation of Diaton Tonometer to Your Practice GET A QUOTE
Dial Team Diaton at: 1-877-DIATONS
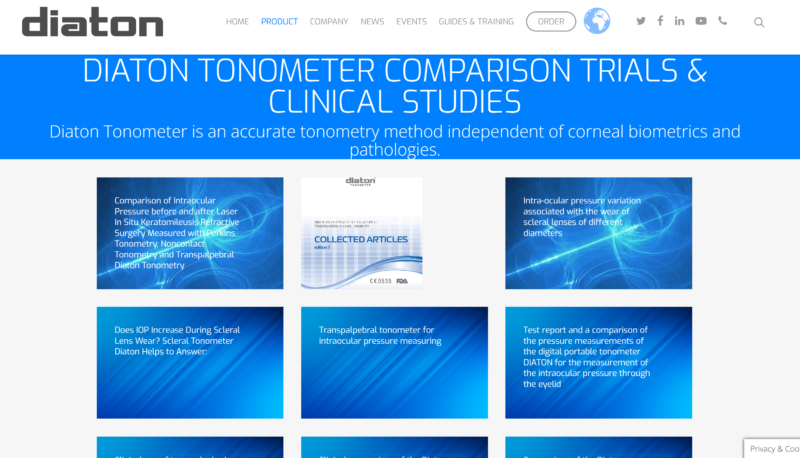
Interview: Young OD’s of America on Safe Tonometry Solution with CEO of Diaton Tonometer
IN THE VIDEO: Will To, OD aka @thetravelingOD San Mateo, CA Justin Bazan, OD Brooklyn, NY Kirk Kaupke, OD in New York City (NYC) John Nguyen, OD with practices in Bronx, Brooklyn and Staten Island, Roman Iospa, CEO of Diaton Tonometer at DevelopAll Inc, New York
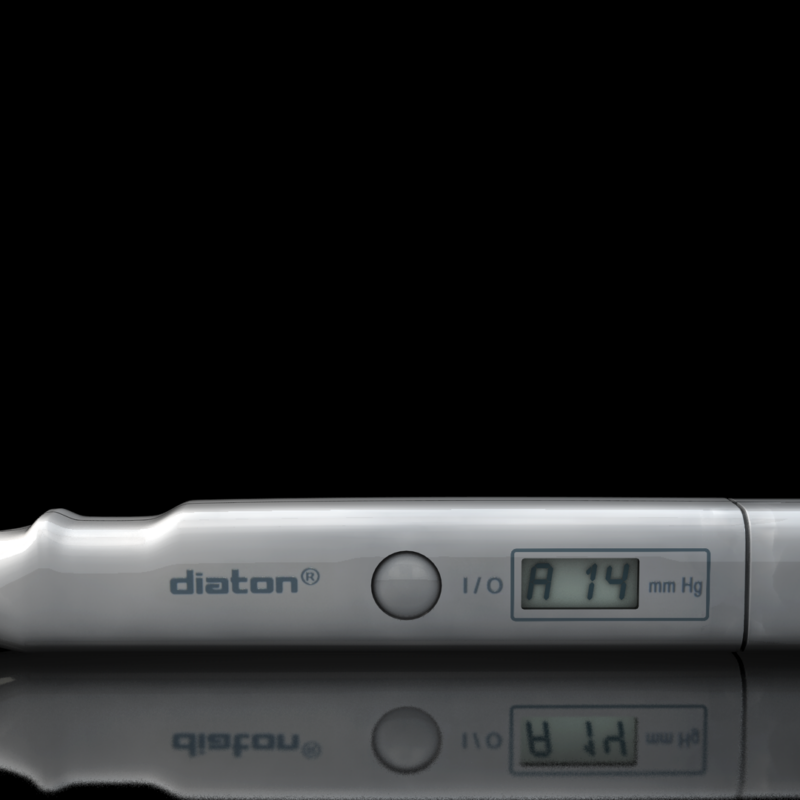
“Diaton tonometry” is a unique approach to measuring intraocular pressure (IOP) through the Eyelid and Sclera. Non-Contact (no contact with cornea), no anesthesia or sterilization required, pen like, hand-held, portable tonometer.
Emil W. Chynn, MD, FASC from Park Avenue LASEK stated, – “As a Cornea-Refractive trained specialist, I encounter many situations where Goldmann readings are inherently inaccurate–like post-LASIK, in cases of corneal edema, scarring, keratoconus, post-keratoprosthesis or transplant. In such cases, it’s both invaluable and reassuring to have the Diaton device available to measure IOP that’s independent of corneal pathology”
“It works,” said Dr. Mark Latina, glaucoma specialist (Harvard / MEEI) and the inventor of Selective Laser Trabeculoplasty (SLT), after revealing results of the study titled: “Accuracy of Transpalpebral Tonometer Diaton Compared to Goldmann Applanation Tonometer in Normal and Glaucomatous Eyes”. “The Diaton device provides a very useful way to confirm Goldmann tonometry, especially in certain complicated patients, in my glaucoma referral practice.”
Henry D. Perry, MD (Corneal Specialist and Comprehensive Ophthalmology – OCLI), – “Transpalpebral Tonometry is an accurate method of IOP measurement that is also independent from the biomechanical characteristics of cornea. It can be recommended for IOP measurements of patients diagnosed with glaucoma including those cases where cornea pathology or cornea characteristics have been altered.”
“The [device] is easy to use, user friendly, and it can be used on patients for mass screening,” Dr. Shazly said. “It’s portable, it’s economical; it’s really good for screening purposes.”
John Hope, MD, an ophthalmologist in private practice in Oklahoma City, said that he prefers the device because applanation tonometry is time-consuming and often requires support staff. Dr. Hope said that he has used the instrument routinely on every patient for at least 6 months.
“This instrument is so user friendly . . . there are no rubber covers to deal with, and, after the initial purchase, it is virtually maintenance-free,” he said.“I clean the instrument with an alcohol pad after each use, and it is easily portable in your pocket and can be transported from room to room or office to office.”
“There is no corneal contact and pressures can be obtained in patients wearing contact lenses,” Dr. Hope concluded. “The technique is easily and quickly learned.”

© 2024 DevelopAll Inc., Tonometer Diaton® All Rights Reserved.